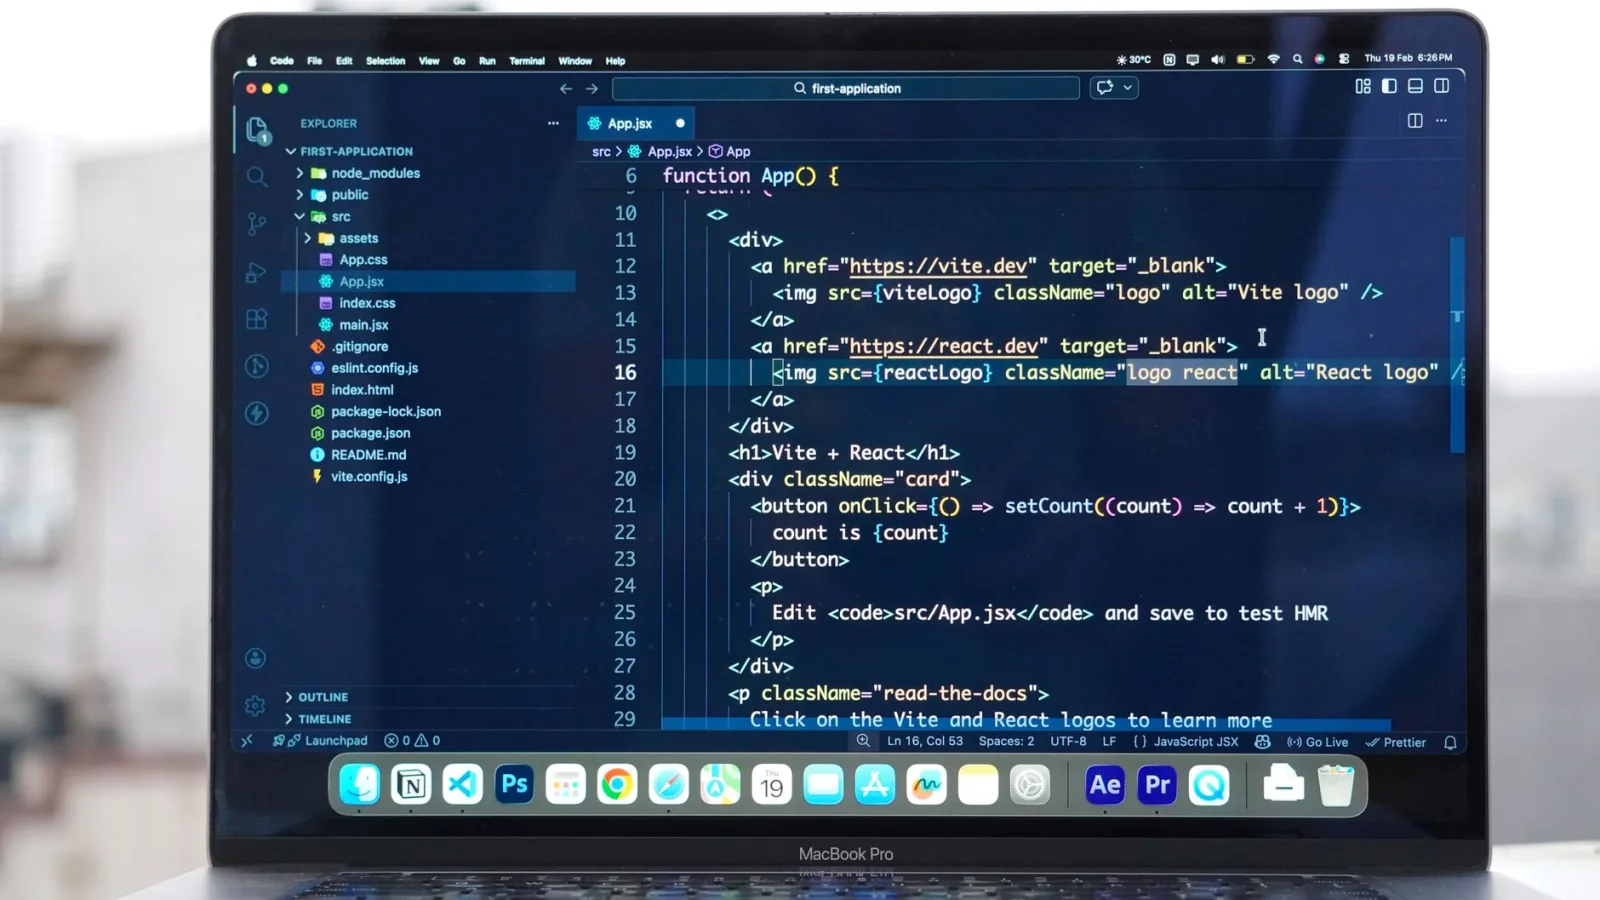
You will learn how to set up a tiny task manager using React and TypeScript. The app lets you add, toggle, and delete tasks, and it stores data in the browser so it survives a page refresh. Knowing these basics helps you understand component state, props, and type safety – skills you will reuse in many projects.
Why React and TypeScript together?
React is a JavaScript library for building user interfaces. It lets you break a page into reusable pieces called components. TypeScript is a superset of JavaScript that adds static typing. When you write React code with TypeScript you get compile‑time checks, better editor autocomplete, and clearer documentation of what each piece expects.
A common mistake I see newcomers make is to write plain JavaScript components and then add TypeScript later. It often leads to a messy migration. Starting with TypeScript from day one keeps the code tidy and prevents many bugs.
Project setup
- Install Node.js if you haven’t already.
- Open a terminal and run:
npx create-react-app task-manager --template typescript
cd task-manager
npm start
npxruns a package without installing it globally.create-react-appscaffolds a new React project.--template typescripttells the tool to include TypeScript configuration.npm startlaunches a development server athttp://localhost:3000.
You should now see the default React welcome screen.
Defining the task type
Create a new file src/types.ts and add:
export interface Task {
  id: number;
  title: string;
  completed: boolean;
}
interfacedefines a shape for objects.Taskhas three fields: a numericid, a texttitle, and a booleancompletedflag.
Building the main component
Replace the content of src/App.tsx with the following:
import React, { useState } from "react";
import { Task } from "./types";

const App: React.FC = () => {
  const [tasks, setTasks] = useState<Task[]>([]);
  const [newTitle, setNewTitle] = useState("");

  const addTask = () => {
    if (!newTitle.trim()) return;
    const newTask: Task = {
      id: Date.now(),
      title: newTitle,
      completed: false,
    };
    setTasks([...tasks, newTask]);
    setNewTitle("");
  };

  const toggleTask = (id: number) => {
    setTasks(tasks.map(t => t.id === id ? { ...t, completed: !t.completed } : t));
  };

  const deleteTask = (id: number) => {
    setTasks(tasks.filter(t => t.id !== id));
  };

  return (
    <div style={{ maxWidth: "400px", margin: "auto", padding: "1rem" }}>
      <h1>Task Manager</h1>
      <input
        type="text"
        placeholder="New task"
        value={newTitle}
        onChange={e => setNewTitle(e.target.value)}
        onKeyDown={e => e.key === "Enter" && addTask()}
      />
      <button onClick={addTask}>Add</button>
      <ul>
        {tasks.map(task => (
          <li key={task.id} style={{ textDecoration: task.completed ? "line-through" : "none" }}>
            <input
              type="checkbox"
              checked={task.completed}
              onChange={() => toggleTask(task.id)}
            />
            {task.title}
            <button onClick={() => deleteTask(task.id)} style={{ marginLeft: "8px" }}>✕</button>
          </li>
        ))}
      </ul>
    </div>
  );
};

export default App;
useState<Task[]>creates a state variable that holds an array ofTaskobjects.addTaskbuilds a newTaskwith a uniqueidusingDate.now()and appends it to the list.toggleTaskflips thecompletedflag for the matching task.deleteTaskremoves a task by filtering it out of the array.- The JSX inside
returnrenders an input box, an "Add" button, and a list of tasks. - Inline
styleobjects keep the example simple without extra CSS files.
Persisting data in the browser
To keep tasks after a page reload we can use localStorage. Add these two helpers to src/App.tsx above the component:
const loadTasks = (): Task[] => {
  const data = localStorage.getItem("tasks");
  return data ? JSON.parse(data) : [];
};

const saveTasks = (tasks: Task[]) => {
  localStorage.setItem("tasks", JSON.stringify(tasks));
};
Then adjust the state initialization and side‑effects:
const [tasks, setTasks] = useState<Task[]>(loadTasks());

React.useEffect(() => {
  saveTasks(tasks);
}, [tasks]);
localStorage.getItemreads a string value stored under the key"tasks".JSON.parseconverts that string back into an array of objects.React.useEffectruns after each render; the dependency[tasks]means it runs whenever the task list changes, saving the latest state.
Styling tips without a framework
If you prefer a cleaner look, you can replace the inline styles with a small CSS file src/App.css:
.container { max-width: 400px; margin: auto; padding: 1rem; }
.task { display: flex; align-items: center; }
.task button { margin-left: 8px; }
Then import it in App.tsx:
import "./App.css";
- Keeping CSS separate makes the component easier to read.
- Using class names (
container,task) gives you flexibility to change the design later.
Common pitfalls to avoid
- Mutating state directly – Never do
tasks.push(newTask). React needs a new array reference to detect changes, so always create a new array with spread ([...tasks, newTask]). - Missing key prop – In the
mapcall each<li>gets akey={task.id}. Without a unique key React may reuse the wrong DOM node, causing odd UI glitches. - Type mismatches – If you forget to type the
tasksstate (useState([])instead ofuseState<Task[]>([])), TypeScript will treat it asany[], losing the safety benefits.
Extending the app
Now that the core is in place, you can try a few enhancements:
- Add a filter to show only completed or pending tasks.
- Store the list on a backend using a simple REST API.
- Use
useReducerinstead of multipleuseStatecalls for more complex state logic. - Add drag‑and‑drop reordering with a library like
react-beautiful-dnd.
All of these are natural next steps once you feel comfortable with the basics.
FAQ
How do I type a React event handler?
Use the specific event type from React. For an input change you can write onChange={(e: React.ChangeEvent<HTMLInputElement>) => ...}. This gives you proper e.target.value typing.
Why use Date.now() for IDs?
It provides a quick, unique number based on the current timestamp. For production you might prefer a UUID library, but Date.now() is fine for a learning project.
Can I use this code with Next.js?
Yes. Create a page component in pages/index.tsx and copy the same logic. Next.js will handle the rendering, and the client‑side state works the same way.
Wrapping up
You now have a functional task manager built with React and TypeScript. The example covers component state, type definitions, event handling, and simple persistence. Play with the code, add your own features, and you’ll see how these fundamentals scale to larger apps.